
You’re just minding your business and cleaning up around your house. You reach for your Roomba, set it on the floor, and watch it g0. It sails into the wall, hits the corner, and just stops. Now you’ve got no robot to clean the floor, but you have a not working robot. Not to worry, here is a quick troubleshooting guide to get your Roomba up and running again.
A Roomba is one of the most popular robotic vacuum cleaners on the market. Many consumers have made the decision to purchase a Roomba because they can perform their daily tasks while leaving the cleaning to a machine. Over time, issues can develop regarding the performance of the Roomba.
If you have problems with your Roomba, first clean the charging port with a soft cloth and rubbing alcohol. If it still doesn’t work, try replacing or reinstalling your battery and charger, resetting your Roomba to factory settings, or just letting it sit for an hour and trying again.
While Roomba is a very easy machine to use, there are a few things that you can do to help make cleaning easier. One of the most common problems that users may run into is the Roomba not charging.
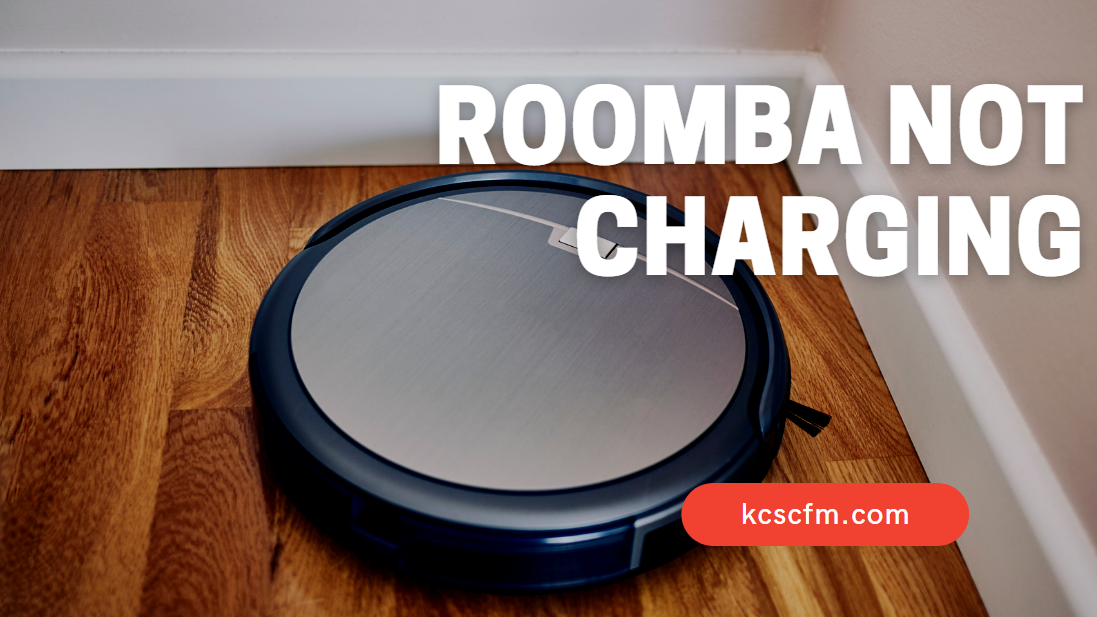
Roomba Not Charging – Troubleshoot And Diagnosis
Whether it’s a simple battery or power cord problem, or something more serious like a hardware problem, your Roomba might not be charging. Here we’ll go over the most effective troubleshooting techniques to get your robot vacuuming again.
1. Dirty Electrical Contact Points
Even the best automatic vacuum cleaners need a little attention. Without regular maintenance, your Roomba might develop problems and its lifespan will be decreased.
Furthermore, Roomba’s charging port is notoriously easy to clog. This can result in long cleaning times and unresponsive devices — or worse, frequent damaging. Leaving the device plugged in for long periods of time presents a risk of fire, as does leaving any charging electronic on for extended periods.
Therefore, you should clean it each time after use — we recommend doing so every 2-3 days to avoid any problems that may arise from a lack of cleaning.
If your Roomba won’t charge, the charging contacts might have been damaged due to a build-up of dirt and dust.
Dirt and dust are both problems that affect your Roomba — and they can be easily cleaned up with a few simple cleaning solutions. All you need is a couple of bottles of cleaner and a couple of rags or towels to get the job done and make your vacuum clean like new again.
IMPORTANT: If you’re cleaning a Roomba, unplug it from the power source before cleaning its contact points. This will prevent potential electrical shocks.
If your Roomba won’t charge, you may have to clean the charging contacts. Very gently wipe the contacts down with a microfiber cloth or damp melamine foam to remove any dust, hair, or other debris interfering with the contact points.
If cleaning the Roomba didn’t fix its charging problem, it’s time to troubleshoot.
2. Dirty Caster Wheel
Caster wheels are small, plastic wheels attached to the bottom of a Roomba that keep it away from obstacles and allow the robot vacuum to turn freely. They do not provide support or propulsion, just a buffer between the floor and the unit.
It doesn’t run on its own but instead serves to offset the weight of the device so that it can function correctly.
Dirt and debris are bound to accumulate inside the Roomba’s caster wheel well — and if they are not cleaned out regularly, they can start to push against the wheel, ultimately pushing it out of its housing.
The Roomba’s caster wheel is located pretty close to the charging contacts, so it tends to get stuck there. This generally causes the Roomba to rise up slightly above where its charging contacts can touch those of the charging station.
Thankfully, removing the caster wheel from a Roomba is super easy. You should first use the vacuum itself to suck up any dirt or dust that might be trapped within the caster wheel. Then, detach the caster wheel by grabbing it with your hands and pulling it out — the caster wheel will detach from its base easily.
If the Roomba is having problems with caster wheels, here are a few things to try. First, clean out the caster wheel well. Then, attach the caster wheel securely. Finally, reattach the wheel cover and your Roomba should be good as new.
3. Use Another Power Outlet
Before digging into any serious troubleshooting, it is best to make sure that your wiring and sockets are fine.
If you aren’t seeing the Home Base power light flashing when you plug it in, it’s likely that the GFCI outlet has tripped, or a breaker has been flipped. Try connecting in a different outlet and make sure that your connections are nice and tight.
4. Clean the Docking Station
Sometimes, a Roomba will struggle to charge because of problems with the charging mechanism. The device simply won’t charge and the error code shows that it’s plugged in but not charging.
One of the possible causes is an accumulation of dirt on the charging contacts. This breaks off the connection between ports and outlet, and prevents your vacuum from charging. To fix this problem, try cleaning the dock for debris periodically.
To clean your Roomba charging contacts, flip the robot over and detach it from its wheels. Then you can use a swab dabbed in rubbing alcohol to wipe down the metal connectors. Once the metal is dry, firmly press the plug into the outlet — if it doesn’t lie flush against the wall, try wiggling it around until it clicks into place.
5. Faulty Charging Station
The Roomba’s charging station has a simple job but it does it well: it allows your Roomba to charge itself automatically. Without the charging station, you’d have to plug your Roomba in to charge it — but with the charging station, you can put your vacuum back where it belongs and not have to worry about its battery ever again.
The charging station is likely the source of your Roomba’s charging issues, but it’s possible that its contact points are dirty. Dirt and other debris can make its way into the charging stations and cause the contacts to fail.
This could be due to a variety of factors — whether there are issues with the contacts or with the power source itself, or even because there are wires tangled in front of the charging station and preventing it from working properly.
First, check whether the problem is with your Roomba, its charging station, or the outlets they are both plugged into.
If you notice that there’s a shortage in power to either one of them, find the GFCI outlet and ensure that it’s not tripped or replaced it with a regular outlet.
If your Roomba battery isn’t charging and the level doesn’t rise, it’s time to perform some tests. First, check the power outlet or circuit breaker that you use — make sure that everything is working fine. If the power outlets are fine and you’ve tried the Roomba in a different location that works, then it could be the charging station itself.
You should also make sure that the charging station’s plug is fully inserted into the outlet.
When you press the “clean” button on the Roomba, and the dock has a light coming out of it or green light on it, this means that your charging station is dead. iRobot will most likely have to send you a new one because they are covered under warranty.
If your Roomba was past the warranty date, you’d have to purchase a new charging station but you can find them online for reasonable prices.
6. Battery Pull Tab Is In Place
To prevent the Roomba from turning on before you set it up, it comes with a yellow pull tab. This tab blocks off the contact points of the battery and ensures that it stays deactivated until you choose to use it.
It’s a good idea to check that the battery tab is out of the Roomba before using it for the first time. It’s easy to miss, but it’s important!
Although the customer’s oversight is understandable, it’s still a mistake that will cost him time and money if he doesn’t resolve it. The yellow tab needs to be pulled out before the Roomba will run, so if you’ve never used a Roomba before, check that you have removed this tab from the bottom of the robot.
7. Do A Soft Reset
The software’s bugs may be the reason why your Roomba won’t charge. Due to these errors, you may think that the robot vacuum isn’t charging at all — when in reality, it may have been charging the entire time.
The problem might not be your Roomba, but instead the way you’re using it. Due to software bugs, you may see that the Roomba’s battery isn’t charging — even when it is!
A soft reset can clear out these glitches and let your Roomba work like new again. A soft reset doesn’t reset your Roomba to factory default settings, so you’ll still have your maps and schedules intact.
If you need to reset your robot vacuum, try the following steps:
- Press and hold the clean button on your Roomba device.
- Release the button once you hear a beep.
- Plug your Roomba back in, and it should boot up and display a charging indication.
Some of the 700 and 800 series Roombas came with a dedicated reset button. So if you don’t want to go digging into the device’s settings or manually cleaning it, you can just reset the device by holding down a physical button.
8. Reposition the Battery
If the Roomba battery is displaced or loosened, the Roomba will not be able to clean. This might happen during shipping, or for any other reason.
Before we decide to change the battery or claim a warranty, make sure it is in the right place.
You can recharge the Roomba by removing the screws on the back panel and reinserting the battery inside tightly. Put the screws back in and plug it in.
9. Replace the Battery
The batteries in your Roomba come with a 1-year or more warranty and are designed to last for two years. However, they can eventually run out of power — that’s why iRobot offers replacements.
With the right replacement battery order and proper maintenance, you can prolong the life of your robotic vacuum and optimize its performance.
Here are a few tips that can help you preserve your Roomba’s battery life:
Clean the device periodically to prevent hair or dust accumulation.
Store it in a cool, dry place during and after charging. This will also provide you with more cleaning cycles.
Use it frequently as this will give you more cleaning cycles — provided that it remains charged during use.
Lithium-ion batteries need time to “wake up” before Roomba cleans a room.
Place the base station on a level surface, plug it in, and wait for an indication LED to glow.
Put the Roomba on the docking station and wait until the base station goes out and the light on the Roomba starts flashing. This usually takes 10-15 seconds.
10. Do A Factory Reset
If all else fails, you can use the Roomba reset utility, which will factory reset and restart the device. A hard reset is an excellent way to fix memory corruption or software issues that result in corrupted memory or charging issues.
In addition to restoring the device to its default settings, a factory reset also clears any corrupted memory or software bugs the device may be experiencing.
If you have trouble with your Roomba, factory resetting the device will solve your issues.
First, you will hold down the CLEAN button on your unit for approximately ten seconds. When the indicator lights flash, release the button, and your Roomba should restart.
If this doesn’t solve your problem, contact customer support directly.
Usually, the best troubleshooting step when a Roomba isn’t doing what it’s supposed to is to do a factory reset. This will go back to the default settings and erase any customizations you’ve made on the device. However, any configurations you made won’t be erased; you can easily set them up again.
Why Roomba Won’t Charge
Check that there is not dust or debris blocking the charging contacts on the top of the Roomba and in the charger. Check that the charger is firmly connected to the charging contacts on the Roomba and the wall outlet. Clean the charging contacts with a dry cloth.
1. Dead Battery
If your Roomba won’t charge, then the first thing you should check is the battery. If the battery is dead, then it needs to be replaced.
2. Dirty Battery Connections
If the battery connections are dirty, they may not be making a good connection. Clean the battery terminals and the charging contacts on the Roomba with a cotton swab dipped in rubbing alcohol.
3. Defective Battery
If the battery is more than a year old, it may be time to replace it. Batteries have a limited lifespan and eventually need to be replaced.
4. Defective Charger
If the charger is defective, it will need to be replaced.
5. Incorrectly Installed Battery
If the battery is not installed correctly, the Roomba will not charge. Make sure the battery is installed correctly before trying to charge it.
Final Thoughts
Both cleaning performance and battery life can affect your Roomba’s overall longevity. Fortunately, keeping your bot’s battery in its best possible condition is pretty straightforward.
By simply removing debris from both the charging station and from any vents on the back of your Roomba, you can add hours of additional runtime to its lifespan — getting the most out of your bot and preventing it from failing prematurely.

Hi there! I’m Sam Hendricks, and I’m a repair technician and expert. I created this website to help people like you save money and time by fixing your own appliances.
Over the years, I’ve seen people spend a lot of money on unnecessary repairs or replacements. That’s why I decided to share my expertise and create easy-to-follow guides for fixing appliances on your own.