
The remote control of ceiling fan can be a bummer when it stops working. Remote controls are subjected to different elements in daily use, which often leads to their failure. To avoid this, you need to know how they function and how you can deal with busted remotes. There are several ways to reset a ceiling fan remote, but here’s the most straightforward: With the power off, hold down the button until the light on the remote flashes. Then, press and hold it again for 15-30 seconds to resynchronize the remote with your fan. Once that’s done, try powering up your fan and see if it responds to your remote again.
Homeowners used to live with ceiling fans that needed to be operated manually. All you could do is alter the fan’s speed or set it to spin the preferred amount of air in your room. But times have changed, and now homeowners can purchase ceiling fans with remote control capabilities. Simply install the fan on a compatible mounting bracket and aim the included remote at its receiver to operate it from within your sitting area.
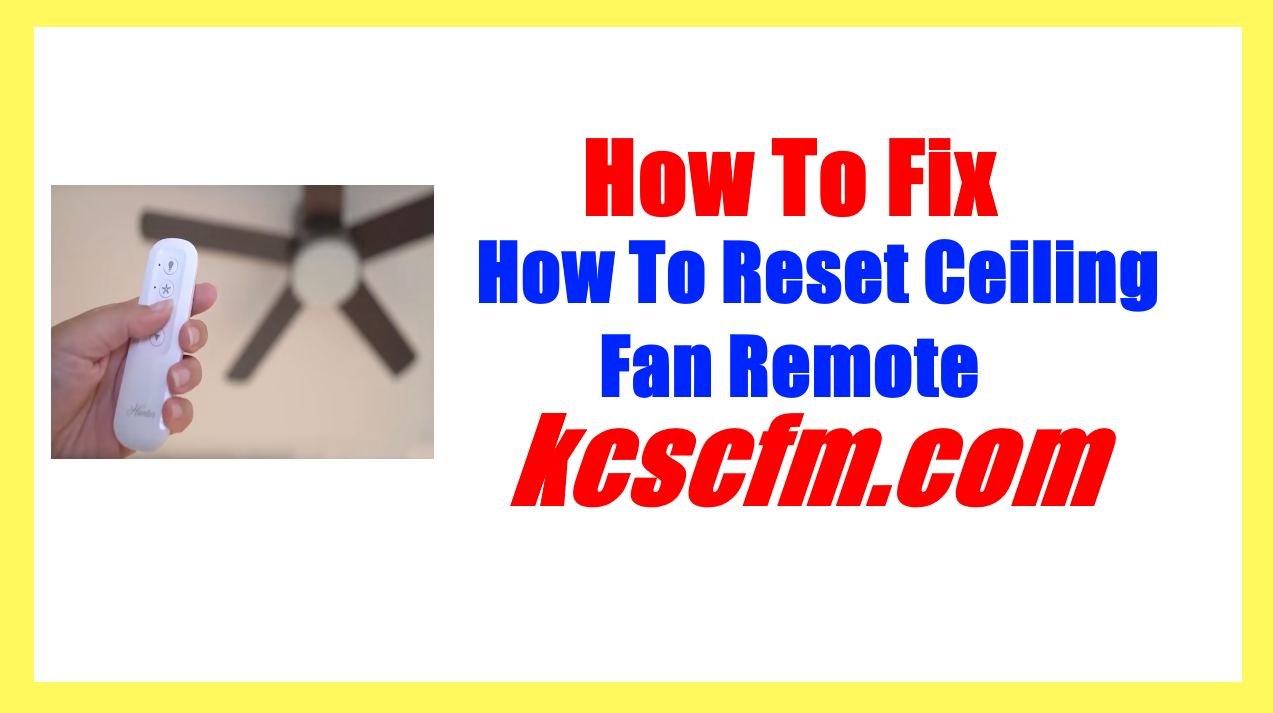
How To Reset Ceiling Fan Remote – Step To Step Guide
When you’re using a remote control for a ceiling fan, it’s easy to accidentally press the wrong button. In addition, if you accidentally drop it or forget where you put it (or even if you drop the remote), your remote is essentially useless. Fortunately, remotes can easily be reset — whether they’re lost remotes or ones that don’t work anymore.
If you ever need to reset your ceiling fan, it’s a simple process that shouldn’t take more than a couple of minutes. Unplug the fan from the wall and wait for 15 seconds, then plug it back in and turn it on with its remote control. This should be enough to get the fan back up and running.
This is the most necessary step: there are multiple ways to reset your Ceiling Fan Remote, but to do so in a fast manner, you must press and hold the OFF button for about 25 seconds. Most Ceiling Fan Remotes will only take about 15 seconds to reset. Now that you’re done with the remote, place it back into the remote holder on your ceiling.
Make sure to always refer back to the manual, no matter if you’ve lost it or if you just want to take a look and make sure that you’re still following the right steps.
Here’s what to do if your ceiling fan remote stops working.
1. Change Your Fans Frequency Settings
We will be showing you how to change the frequency of your ceiling fan remote. If your remote control has issues, it is possible to fix this by changing the frequency.
- Before starting any work on your ceiling fan, please turn off your electricity to the fan at the main switch box. Unplugging it and removing it from power will reduce your risk of electrocution or electric shock.
- Use a step ladder to reach the fan’s canopy, and make sure that you’ve got a screwdriver handy. With the screwdriver, remove each of the four screws that hold on the canopy — but be careful not to lose them. Next, carefully pull apart the receiver from the base of the fan.
- The ceiling fan receiver is where you can change the settings on your ceiling fan. Most receivers don’t need to be accessed, but if you want to change the settings or troubleshoot any problems, this is where you can make changes.
- When you are setting up a ceiling fan system, study the receiver unit you’ll be using to make sure you know how to use it. If the dip switch is set incorrectly, your ceiling fans may not work properly or they may work intermittently. The Dip Switch will have three settings (Up, Down and Off) when the receiver is powered off. To create a unique combination, use the buttons and slide it up or down to set a new combination, and remember to note it down.
- Once you’re happy with the new combination, return the receiver back to its original spot (the same location you first removed it). Secure it back on top of the ceiling fan. With a single screw, secure the canopy back in place. Repeat this process for each existing receiver if there is more than one.
- From the ceiling fan’s remote control, remove the battery. Inside the case, you’ll find an L-shaped dip switch. Turn that switch to the same combination that you applied on the fan receiver.
- Each of your ceiling fan remote controls has a switch that finds the corresponding receiver on the fan. To establish communication between the two, you’ll have to change the dip switch combo on each of your remote controls to match the one on your fan.
- Attaching the battery cover to the back of the fan is a simple step — just like snapping on a piece of Lego. Once you’ve opened the battery compartment, simply wedge the plastic tabs on the side into the corresponding slots in the body, and then press firmly until you hear an audible click.
- On the Fan and test the issue.
After you’ve changed your fan’s frequency settings, try using it again to see if the issue has been resolved.
2. Reset Ceiling Fan Remote
Learn how to reset the remote on your fan. You can easily adjust the speed, turn the fan on and off, and set the temperature. Follow these steps to reset your ceiling fan remote control without any problem.
- Use the remote control to switch off the ceiling fan.
- You need to wait for 30 seconds before switching the ceiling fan on again.
- Now, Hold the OFF button for about 10 seconds.
If your remote stops working, don’t toss it — try resetting the remote. With a ceiling fan remote reset, you can easily get your fan working again.
3. Pair the Ceiling Fan with Remote
Pairing your remote control with a ceiling fan is an easy task you can accomplish using these steps:
- Switch Off the Ceiling Fan.
- Wait for 2 Minutes before Switching it ON again.
- While you are waiting, press and hold the light and fan button on your ceiling fan’s remote.
- If everything is correct, then you will be able to see flashing lights and your fan will start rotating on the lowest setting.
The ceiling fan will now rotate at a low speed. This is your confirmation that the fan has paired successfully with the remote.

Hi there! I’m Sam Hendricks, and I’m a repair technician and expert. I created this website to help people like you save money and time by fixing your own appliances.
Over the years, I’ve seen people spend a lot of money on unnecessary repairs or replacements. That’s why I decided to share my expertise and create easy-to-follow guides for fixing appliances on your own.