
The Nest Thermostat is one of the most popular smart home devices on the market, but it has its share of issues like any other product. In addition to common problems like Nest not connecting to your WiFi or software updates not working, there are also some recurring issues with the device’s battery. Here are some potential solutions for charging issues that you might be experiencing.
Nest thermostat runs on a battery that prepares it for power outages and natural disasters. Because it’s always connected to the battery power, though, there’s no need to worry about your system crashing when the lights go out. What’s more, when you connect NEST to your Wi-Fi network, you can control it from anywhere—and even from your phone!
The Nest Thermostat is designed to charge using power from your main grid, and then use the energy from its battery to run the thermostat at all times. This ensures a steady flow of power to the system and helps avoid voltage fluctuations in your electrical system.
If you’re experiencing battery issues with your Nest Thermostat, check to make sure it is properly connected to its base. Check the C-Wire for any damage or loose connections.
There are two types of issues that you might be facing, and both of them are common. With a faulty charger, or a faulty device, both of them can cause the battery not to charge in your Nest Thermostat. Here is what you need to know about the issue, and how you can solve them for yourself.
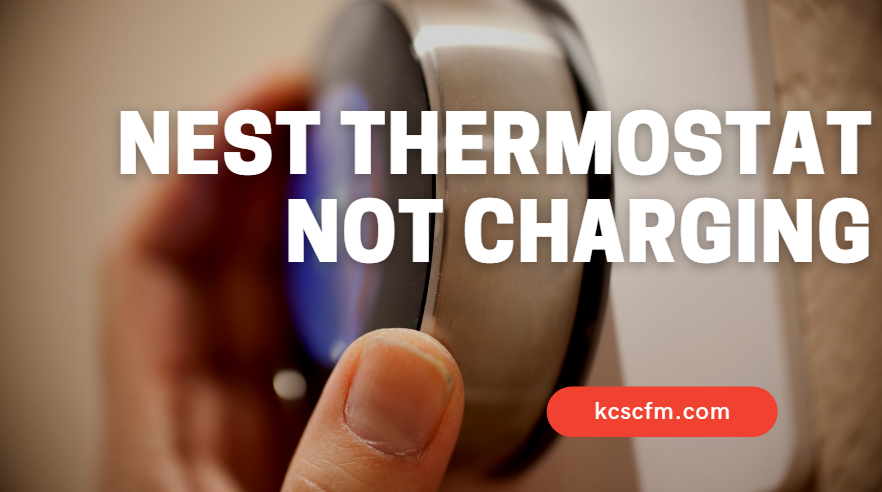
Nest Thermostat Not Charging – Troubleshoot And Diagnosis
Here are a few easy solutions to fix your Nest thermostat if it won’t charge:
Check if the USB cord is properly connected to your thermostat.
Keep the device close to the wall and make sure all wires are connected in its base.
Try resetting the thermostat to resolve any glitches inside it.
The battery in your Nest thermostat may appear to be charging but the process is unable to complete. Once you have verified the C-Wire has not come loose and that your device is correctly connected to its base, remove the cover of your device, clear it of any debris, and replace it.
1. Check the C-wire
The Nest Thermostat requires a C-wire to recharge its battery from a power source.
Connect the Nest Thermostat to your AC system by plugging in the Energy Bridge, which uses your HVAC’s C-wire power source to keep the thermostat charged.
Since it is quite a common occurrence for the C-wire to come loose, you should check whether or not your Nest Thermostat’s C-wire is still in place. You can easily do this by following these steps:
Remove the cover of your Nest Thermostat.
Check if the wire is connected to any of the three terminals on the bottom of the Nest Thermostat.
A defective C-wire is often the cause of a Nest Thermostat problem, and the first line of troubleshooting should be to check the wiring. If there is no voltage or current coming from the C-wire, then you have a faulty wire and will have to replace it.
It’s true that installing a Nest Thermostat without a C-wire is more difficult than it would be if you had a C-wire. But its simplicity in other areas means that you can easily overcome this minor setback.
2. Restart The Thermostat
If your Nest thermostat battery won’t charge, you can restart the device to try and resolve your issue. Restarting the thermostat is a popular troubleshooting tip for when other fixes don’t seem to help. The next time you face this problem, see if that will solve it.
Restarting your Nest thermostat is a quick and easy process that takes just a few seconds. As long you know what you’re doing, it’s actually quite simple. In order to restart your thermostat, please take the following steps:
Turn off the thermostat by pressing and holding the ring for atleast 10 seconds to turn it off. Release the ring when it is no longer lit.
Turn it back on by holding down the button until all of the lights on the thermostat start flashing — this takes about 25 seconds for it to boot up again.
This is generalized troubleshooting for the basic problem. If it does not solve the problem, you will need to remove them using the next troubleshooting step.
3. Manually Charge the Thermostat
If you have tried all of the troubleshooting steps above and your Nest thermostat still will not charge, it may be that there is an issue with the battery. You can try charging it manually with a USB cable to see if that makes a difference.
This should help the battery gain its initial charge, after which it should be able to wirelessly charge from your HVAC system.
You can charge your Nest thermostat manually by removing the display and then plugging it into a standard USB port. You should see a blinking red light on the front of the thermostat if it’s charging.
If you’ve just set up your Nest Thermostat, please read the instructions and make sure you use the right cable to charge it. Use a Micro-USB cable if you have a Nest Thermostat E or any model of Nest Learning Thermostat, use Mini-USB cable to charge 1st generation Nest Learning Thermostat.
After you recharge a Nest thermostat battery, make sure you attach the display back to the charging base and let it sit for a while. If the battery still won’t charge, there might be an issue with your HVAC system. Maybe there is a power issue in your wiring or something else. Check out the next step for more help.
4. Ensure That All Wires Are Connected Securely
Your Nest thermostat’s lithium-ion battery charges through a power source called the HVAC. Luckily, the HVAC is one of the core elements of your home — it channels and distributes heat to every corner of your house. So if something goes wrong with your thermostat or its wires, there are dozens of different solutions you can take to fix it.
Something as simple as a faulty wire can compromise the functionality of your Nest thermostat. After all, it doesn’t work via magic — power must travel from an HVAC system to the base of your thermostat to charge the internal battery. If there’s a loose, burnt or damaged wire getting in the way, you’re not going to get this power.
So if you own a Nest thermostat and it’s going berserk, check these three things: First, make sure the base is screwed in properly. If it isn’t, shut off the heat and then do so. Also, check the wires are secured properly at the base. If there are any exposed wires, tape them up securely.
5. Reset the Nest Thermostat
If you’ve tried other troubleshooting steps (see above), and your thermostat still won’t charge, you’ll need to do a factory reset.
Note: Perform this reset only as a last resort when all other troubleshooting has failed.
Here is the process for resetting your Nest thermostat:
First, tap Menu on the right and then Settings .
Tap All Settings. Finally, turn the ring to find Reset and then press to select it.
This will reset your thermostat to default factory settings, which include the most recent firmware update.
Factory resetting your Nest Thermostat will erase all of your custom settings (just like when you first installed the thermostat). You’ll need to start over to set up your thermostat.
If the issue persists, you may need to contact a professional HVAC technician for further investigation.
Nest Thermostat Won’t Stay Charged
If you are having trouble with your Nest Thermostat staying charged, check the voltage that it is being drawn from. It should be 120 VAC, but will only work with 60Hz. Other HVAC components may be stepping on each other and drawing more power than necessary, which can result in a drained battery and an incorrectly functioning Nest thermostat.
Now that the Nest thermostat has a battery, leave it unplugged for a while to make sure it fully charges before plugging it in via USB to put it into sleep mode.
If the battery does not seem to charge, consult the manual for troubleshooting tips. If there is no response, consider replacing the battery. If the battery looks swollen, it may be time to replace it.
Why did my Nest thermostat stop charging?
How to fix Nest not charging or low battery? At times, it’s the little things that can make a big difference. If you’re facing the problem of your device’s battery being too low, try charging its inbuilt battery. If your device is completely drained out of its charge, then wait for an hour and see if it works.
If your Nest thermostat’s battery won’t charge, make sure that the wiring is securely connected and the unit is in its base.
How do I know if my Nest is charging?
The Nest thermostat has three lights on the front, which indicate its charging level. The lights will light up until Nest is fully charged — usually taking about half an hour to recharge.
If you are aware of your battery draining and need to recharge it immediately, it can take up to 2 hours for a full charge.
How Long Does Nest Thermostat Take To Charge?
The initial charge time could take up to two hours, but the subsequent charges should be completed in just half an hour. It takes two hours for a fully depleted battery, so charge it overnight if you can.
First, you will need to plug your Nest thermostat into a power outlet. After that, you must let it charge for half an hour to an hour until the battery is fully charged. It can take up to two hours if it has no battery life.

Hi there! I’m Sam Hendricks, and I’m a repair technician and expert. I created this website to help people like you save money and time by fixing your own appliances.
Over the years, I’ve seen people spend a lot of money on unnecessary repairs or replacements. That’s why I decided to share my expertise and create easy-to-follow guides for fixing appliances on your own.