
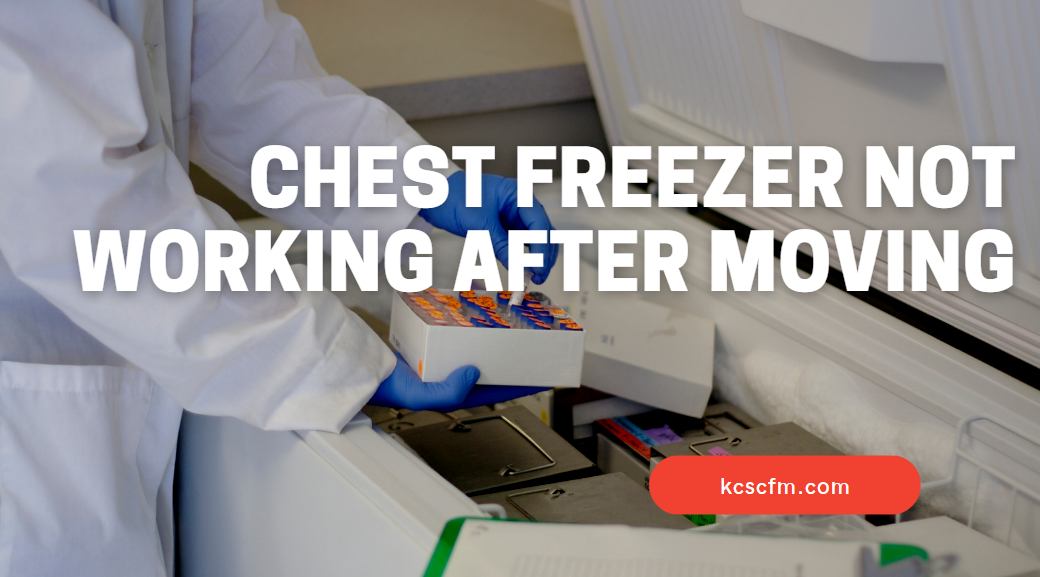
Has this ever happened to you? You recently moved your chest freezer and it no longer works. After much investigation, you realize that the problem is not with the freezer but with something else – a mechanical issue or even a human error.
If so, don’t worry – you’re in the right place!
Despite their generous capacity, even the best chest freezers may not function optimally if they become too cluttered. As they get larger, the chances of malfunctions such as an overflowing ice cube tray and full ice cubes increase, leading to costly complications.
Check Out Solution for Chest Freezer Not Freezing here.
In this article, we will discuss common reasons why your chest freezer may not be working after moving and how to fix them quickly and easily. So if you’re struggling to get your frozen foods cold again, read on for helpful solutions!
Chest Freezer Not Working After Moving – Troubleshoot And Diagnosis
Let’s see the solution.
1. Door is Not Sealed Properly
Having recently moved and unpacked all of your items, you are ready to start using them right away. Unfortunately, you found out that your chest freezer is not properly working after moving it due to the door not being sealed properly.
Without a functioning chest freezer, you may be wondering what went wrong and what you can do to fix it.
A faulty seal on the freezer will prevent it from reaching the necessary low temperatures to properly freeze the contents inside, which can be a significant issue
The first step in troubleshooting this problem is to make sure the door seal is properly secured on your chest freezer.
Check Out if Solution for Fridge leaking water inside
If the seal has come loose or been damaged during moving, then it needs to be replaced with a new one in order for the freezer to work properly.
Replacing the seal will help ensure that air flow is controlled and kept at an appropriate level inside the unit.
Replacing a door gasket in a chest freezer is an easy and cost-effective way to maintain the performance of your appliance. A faulty door gasket can cause air leaks, resulting in warm air entering the freezer and reducing its efficiency.
To help you keep your chest freezer running at optimum levels, here’s how to replace the door gasket.
First, you’ll need to purchase a replacement gasket that is compatible with your model of chest freezer. Unscrew the old gasket from the inside of the appliance with a screwdriver and pull it out gently.
Clean off any remaining adhesive residue before fitting in the new gasket – make sure it fits snugly against the edges of your freezer for optimal insulation. Once you’ve fitted in place, secure tightly with screws and use weather stripping around gaps or joints if needed for extra protection from temperature fluctuations.
2. Broken Or Faulty Compressor
Moving a chest freezer can be an arduous task, and when it’s not working properly after being moved, it can be highly frustrating. If the compressor of your chest freezer is faulty, the unit may not work correctly or even at all.
The compressor, a vital component of a freezer, exerts pressure on refrigerant particles and propels them to the condenser where heat is shed. From there, they flow through a metering tube and into the evaporator where they absorb heat, transforming into a frigid vapor that freezes everything in its path
A faulty compressor could lead to multiple issues with your chest freezer, such as reduced cooling capacity or even complete failure.
Check here For Chest Freezer Is Not Working After Power Outage
Fortunately, identifying and repairing a compressor fault in a chest freezer isn’t too difficult if you know what you’re looking for.
It’s important to note that working on electrical appliances can be dangerous if done incorrectly, so make sure to exercise caution when attempting any repairs on your own.
If you’re unsure about how best to identify and repair any faults with your compressor unit, then seeking professional advice is strongly recommended.
To determine if the compressor is malfunctioning, try disconnecting the freezer from its power source and removing the start relay from the compressor.
Give the start relay a gentle shake and listen for any metallic noises.
If you hear a rattle, it’s likely that the start relay, rather than the compressor, is causing the issue.
Fortunately, the start relay is typically an easier and less expensive repair. However, if you don’t hear any rattling, the compressor itself may be the problem.
It’s usually best to have a professional assess the chest freezer’s compressor and potentially replace it if necessary, unless you have a background in mechanics.
Keep in mind that compressors can be quite costly, so it might be worth considering whether the freezer is worth the investment before replacing it. In some cases, it might be more cost-effective to simply purchase a new freezer.
Here is a step-by-step guide on how to replace a compressor in a chest freezer:
- Unplug the freezer from the power source and remove any food or items inside.
- Locate the compressor, which is typically located at the bottom or back of the freezer. It will be a large, rectangular box with various tubes and wires connected to it.
- Disconnect all the tubes and wires from the faulty compressor. This may include the refrigerant lines, electrical wires, and start relay. Make sure to label each connection so you know where to reattach them later.
- Remove the mounting bolts that hold the compressor in place. These bolts are typically located on the sides or bottom of the compressor.
- Carefully lift the faulty compressor out of the freezer and set it aside.
- Obtain a new compressor that is compatible with your chest freezer. Make sure to check the specifications and model number to ensure a proper fit.
- Install the new compressor in the same location as the old one, making sure to attach all the tubes and wires in their proper places.
- Replace any mounting bolts or screws and securely fasten the compressor in place.
- Plug the freezer back into the power source and turn it on. Allow the freezer to run for a few hours to ensure that the new compressor is functioning properly.
Replacing a faulty compressor in a chest freezer can be a challenging task, especially if you don’t have mechanical experience. It is recommended to seek the help of a professional if you are unsure of how to proceed. However, with the right tools and a bit of patience, you can successfully replace the compressor and get your chest freezer running smoothly once again.
3. Power Source Issue
Having trouble getting your chest freezer to run after moving it? Chances are, the problem lies in the power source.
Loose connections and problematic power outlets can cause a freezer to not function properly, leading to spoiled food and wasted money.
For those familiar with electricity and wiring, resolving this issue can be fairly straightforward. Examine all of the outlets that the chest freezer is plugged into for signs of wear or faulty wiring, then tighten any loose connections you find.
If you do not feel comfortable completing this task or don’t believe yourself qualified to do so, contact a professional electrician who can assess the situation further and provide a solution quickly.
Be sure that wherever you plug in your chest freezer has an adequate voltage flow, as inadequate voltage will lead to problems down the line even if all the current outlets seem fine at first glance.
4. Defective Evaporator Fan
The Evaporator fan blades can become bent or broken during the move due to the weight of the items inside, which will prevent it from working correctly. You may also hear a humming noise coming from within when this is happening. To fix this issue, you will need to replace the fan motor with a new one so that your chest freezer can work correctly again.
Replacing an evaporator fan in a chest freezer is not as difficult as it sounds.
First, you’ll need to remove all items stored inside and unplug the unit before beginning any repairs. Then, locate and remove the screws that are holding in place on its side panel before disconnecting it from power source.
Replacing the fan can be done relatively easily with some basic tools and steps.
First, unplug the freezer from the power source and remove all items inside of it. You will then need to locate and remove screws that hold the panels in place so that you can access the evaporator fan motor. Once found, unscrew it and disconnect any wiring attached to it before removing completely from the freezer unit.
Next, attach wires from your new motor onto their respective terminals on the control board in your freezer, as well as securing any additional mounting hardware if necessary.
5. Dirty Condenser Coils
Moving a chest freezer can be an intimidating task due to its size and weight. During the process, it’s important that the freezer is handled with care to ensure it continues working properly after being relocated.
Unfortunately, a common issue people face when moving their chest freezers is the unit not operating correctly once in its new location. In many cases, this issue is caused by dirty condenser coils.
Condenser coils are responsible for removing heat from inside of the freezer and releasing it into the surrounding environment.
If these coils become caked with dirt or dust, they can no longer do their job efficiently resulting in your chest freezer not working properly after being moved.
To get your unit running again at peak efficiency, you should inspect and clean your condenser coils regularly to prevent this from happening.
The first step is to locate the condenser coils, which are usually located either behind or underneath the unit depending on the model of your chest freezer.
Once you have found them, you should use a vacuum cleaner with an attachment hose to remove any dust or dirt that has accumulated around the coils.
Conclusion
In conclusion, it is important to remember that if your chest freezer stops working after a move, there are several things you can do to get it up and running again.
Make sure the power cord is connected properly, check for tripped circuit breakers or blown fuses, and ensure that nothing has been blocking the airflow around the freezer’s coils.
If all else fails, call in an appliance repair specialist who can troubleshoot any issues you may be having with your unit.
Moving isn’t easy on most things – so if you run into problems with your chest freezer after a big move don’t be afraid to ask for help!

Hi there! I’m Sam Hendricks, and I’m a repair technician and expert. I created this website to help people like you save money and time by fixing your own appliances.
Over the years, I’ve seen people spend a lot of money on unnecessary repairs or replacements. That’s why I decided to share my expertise and create easy-to-follow guides for fixing appliances on your own.