
This troubleshooting guide discusses the problems that occur in range display. We also explain how you can fix these problems by yourself so that you have no need to call a technician.
If you’ve gone online to research Samsung range display problems, you’ve likely noticed that there’s a surprising lack of information available — especially in comparison to stove repair help resources. This is partly because electric stoves, unlike some other appliances, shouldn’t be fixed by regular homeowners and should be taken care of by qualified professionals.
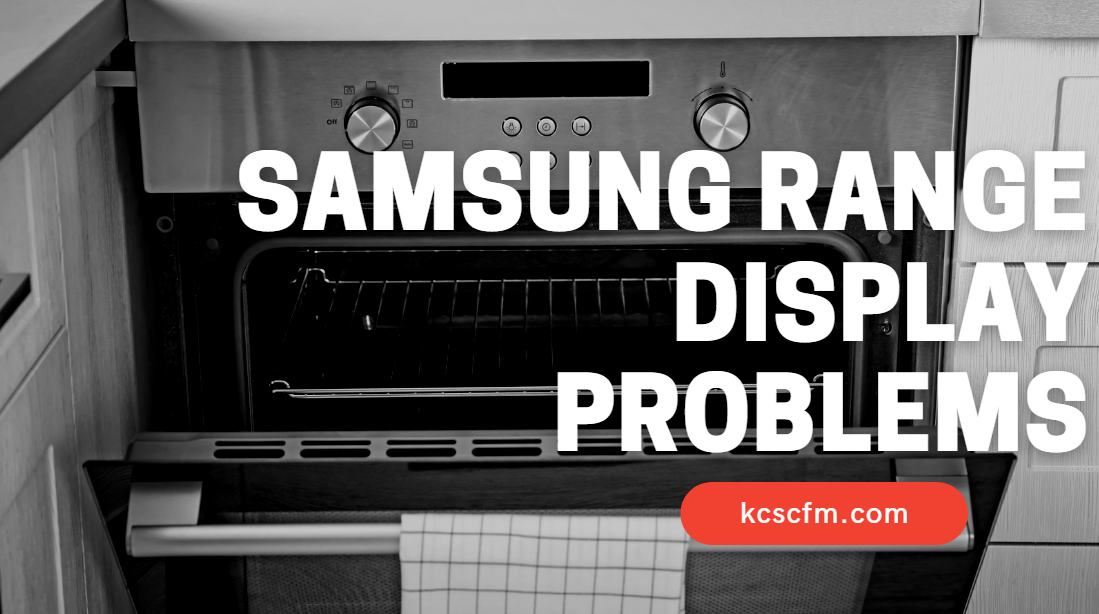
If your Samsung oven’s display is broken and you need help, you’re in the right place. In this article, we’ll offer tips for repairing display-related problems on Samsung range ovens.
Samsung Range Display Problems – Troubleshoot And Diagnosis
A Samsung range can offer you the features, functionality, and control you need to cook with precision. However, a few problems may occur from time to time. If your Samsung range oven has any of these issues, you can use the following troubleshooting steps to resolve the problem quickly.
Samsung Range Display Flickering [ For Model Ne59j7630sg]
If you’re experiencing problems with the flickering display on your Samsung range oven, here’s what you should do:
1. Ensure That Samsung Range is Correctly Plug-In
Because the Samsung range oven has been moved recently, there is a chance that some cords may not be properly plugged in. This can cause the display screen to flicker and make odd noises, but there is an easy fix!
If you recently moved the range, there is a chance that some wires are not properly connected, which may cause your Samsung range to constantly flicker on and off.
Check that all wires have been connected properly.
Also, make sure that the gas supply is connected properly.
Try changing the oven’s power supply source and check if the problem persists.
Don’t let a faulty electrical outlet jeopardize your baking plans. Check the outlet for scorch marks, loose-fitting plugs, or excessive heat — all of which are signs that there could be a problem with the outlet.
If you have an older home, it may not have been updated with modern wiring and fixtures; if so, consider having an electrician inspect the outlet.
2. Check Error Codes
if you’re having problems with your Samsung range oven, there’s a simple way to check if it’s an electrical problem or something that can be solved with a repair. First, try entering the diagnostic mode — this gives you access to the oven’s error codes and other technical information.
Samsung’s range have a handy diagnostic mode so that you know exactly what’s wrong with your oven if it stops working. Just enter the “Diagnostic” mode in your oven — that’ll give you an all-around look at your oven’s insides.
Samsung ovens are prone to error codes. However, it is usually simple to reset or troubleshoot them.
3. Do A Reset
In order to resolve a range of issues, users can reset their Samsung oven. How? By turning off the device and unplugging it for around 20 minutes. This simple step can restore functionality to a range of systems and components from the timer, to the temperature display and more.
Resetting your oven is easy. Simply unplug the unit for two minutes, and then plug it back in. You’ll know if the problem has been fixed if you’re no longer able to see flickering on the display.
4. Get a New Display Part
If your Samsung oven range isn’t getting power, even when the breaker has been flipped and the power button is turned on, then it could be a display problem.
Displays tend to be the first thing to go because of their sensitive nature, vulnerable to water damage, power surges, and general wear-and-tear. If the display is faulty, then it needs to be replaced with a new one.s
Replacing a cracked or damaged Samsung Range oven LED display is fairly simple, but to make sure you’re installing the right part, you’ll need to order the DE07-00129A LED Display Board. This part can be purchased on Amazon and is also available from Samsung Parts and other parts suppliers, but you will find the best price on this part at Amazon.
The Samsung range oven display board is small, but it’s incredibly useful. Measuring 2.75 inches by 2 inches by 1 inch, it simply plugs into the control panel of your range oven, which allows you to control the operation of your unit with a single touchscreen.
How To Replace Samsung Range Display
To change out a Samsung oven display, first, remove the connectors and screws from the rear of your stove and then use a screwdriver. Be careful not to break anything — specially the clips that hold the part in since they might break during installation.
Once you’ve removed the old display, replace it with a new one by laying it in place and screwing it into place. Finally, attach the glass front to complete the installation.
NOTE: The easiest way to get started with the process is to read through the instructions in the owner’s manual. It gives step-by-step instructions on how to remove the old part and install the new one.
Samsung Range Display Not Working After Self Cleaning
If the screen goes dark and the oven door stays closed after you run a self-cleaning cycle, it means that the fuse inside the oven has burnt out. If this happens, avoid using the oven.
You can get around it by replacing the fuse with a new one. It’s easy to do, but you need to verify that the oven’s control board is working before you change the fuse. If your oven’s control board is working properly, all you need to do is replace the blown fuse with a new one.
It’s no fun having your Samsung oven break down in the middle of a self-cleaning cycle. Luckily, there are numerous reports of users successfully replacing the thermal fuse — Samsung DE47-20037A part number — on their own with minimal hassle and expertise required. Some even go as far as to replace it for the sake of an annual safety check.
Samsung Range Display Missing Segments
A few users have reported that their Samsung range oven displays segments that fail to light. However, a quick fix involves resetting the device, which can be accessed by using a thin object (like a paperclip) to press and hold the reset button located under the control panel while turning the oven on.
If that doesn’t work, replacing the display board should get it working again.
Samsung Ne59n6630ss Display Problems
Now that we’re familiar with what causes the display on a Samsung range to flicker or go blank, let’s take a look at how we can fix it. If your unit turns off and flickers on, or the display goes black altogether, resetting the oven will do the trick.
If you find it hard to navigate around your oven without any kind of display, consider replacing the main board.
The first step is to reset the unit — turn off the oven, unplug it for about 10 minutes, and then plug it back in. Next, check that the display board is screwed into place properly. If nothing works, you might have to replace the display board with a new one.
Samsung Range Screen Not Working
If the Samsung range’s display stops working, try resetting it. If the problem isn’t due to a self-cleaning cycle or any other issue with the screen, consider replacing the digital control board.
First, try unplugging the power cord for 30 minutes — this might just reset the unit, allowing it to boot. You can also try resetting the breaker or circuit that controls your oven. If none of these work, you’ll have to replace the display board or touch control panel.
Final Thoughts
If you’re still having an issue, check with your retailer/dealer to see if they’ll give a refund or exchange your product.
If you have the extended warranty, reach out to the shop where you bought your product for repair and service options.
If neither of those options work for you, try contacting Samsung directly with your full model code (and serial number) to verify if your product is still under warranty.

Hi there! I’m Sam Hendricks, and I’m a repair technician and expert. I created this website to help people like you save money and time by fixing your own appliances.
Over the years, I’ve seen people spend a lot of money on unnecessary repairs or replacements. That’s why I decided to share my expertise and create easy-to-follow guides for fixing appliances on your own.